
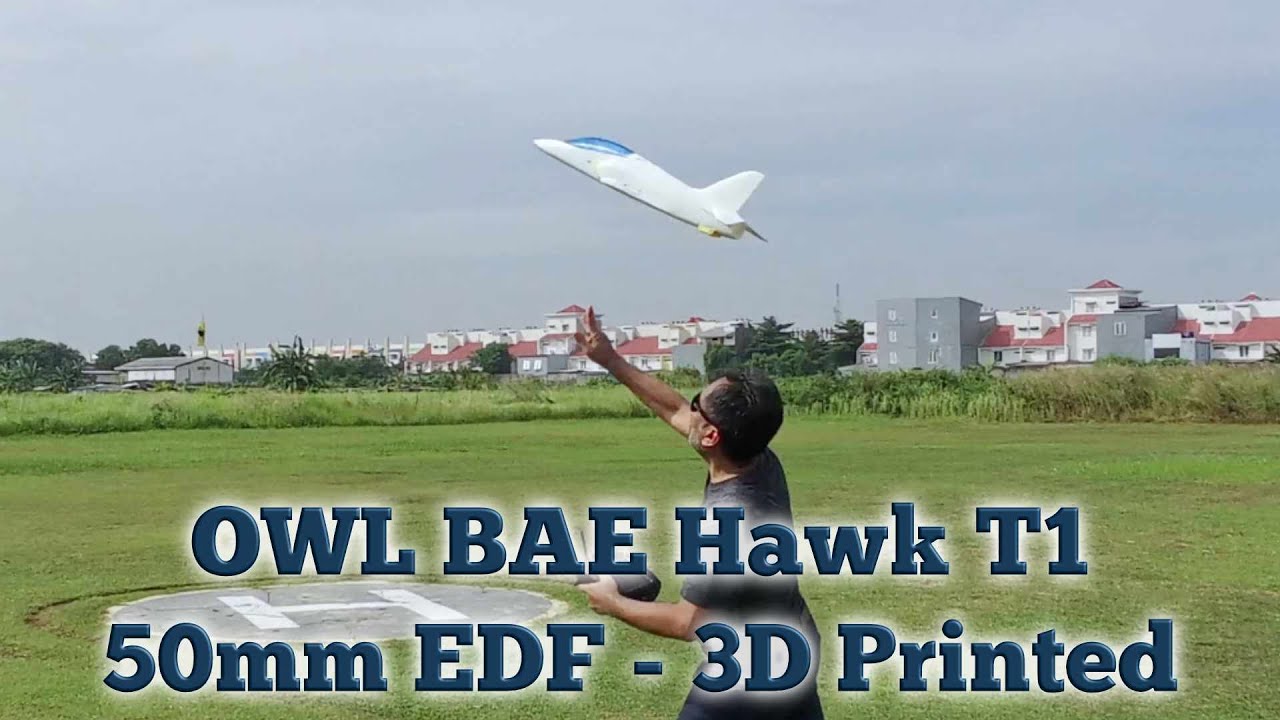
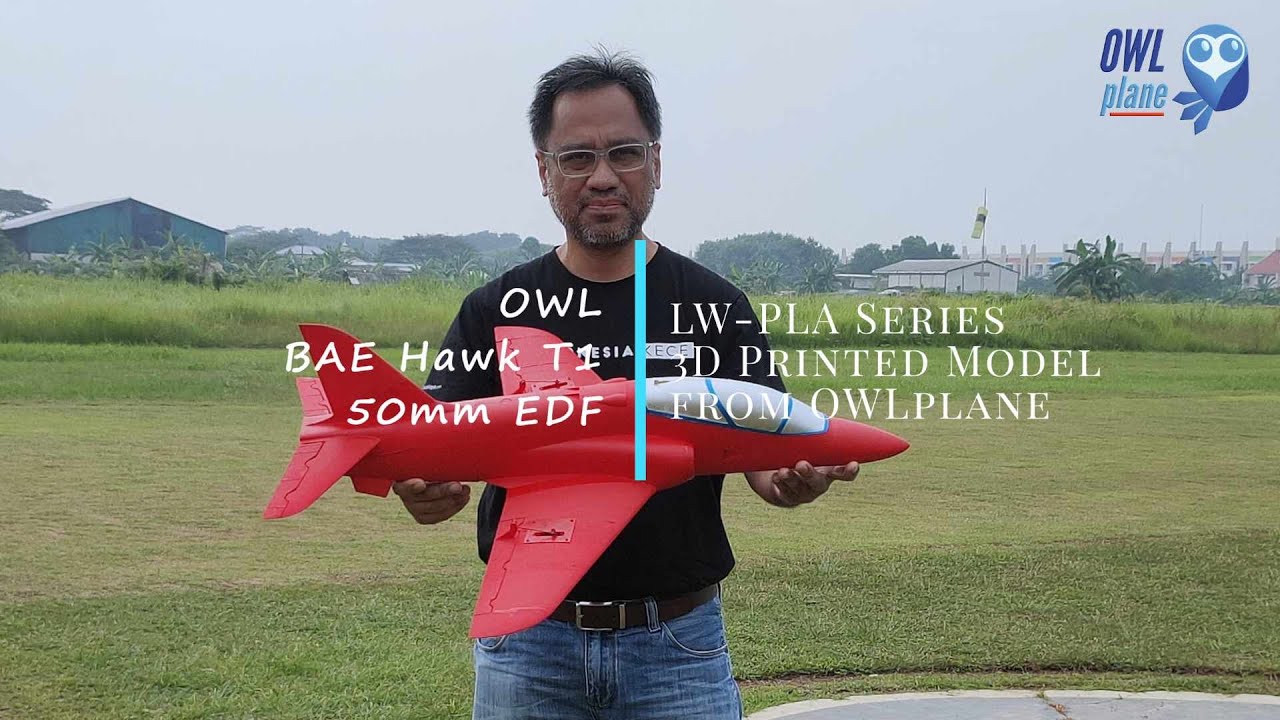
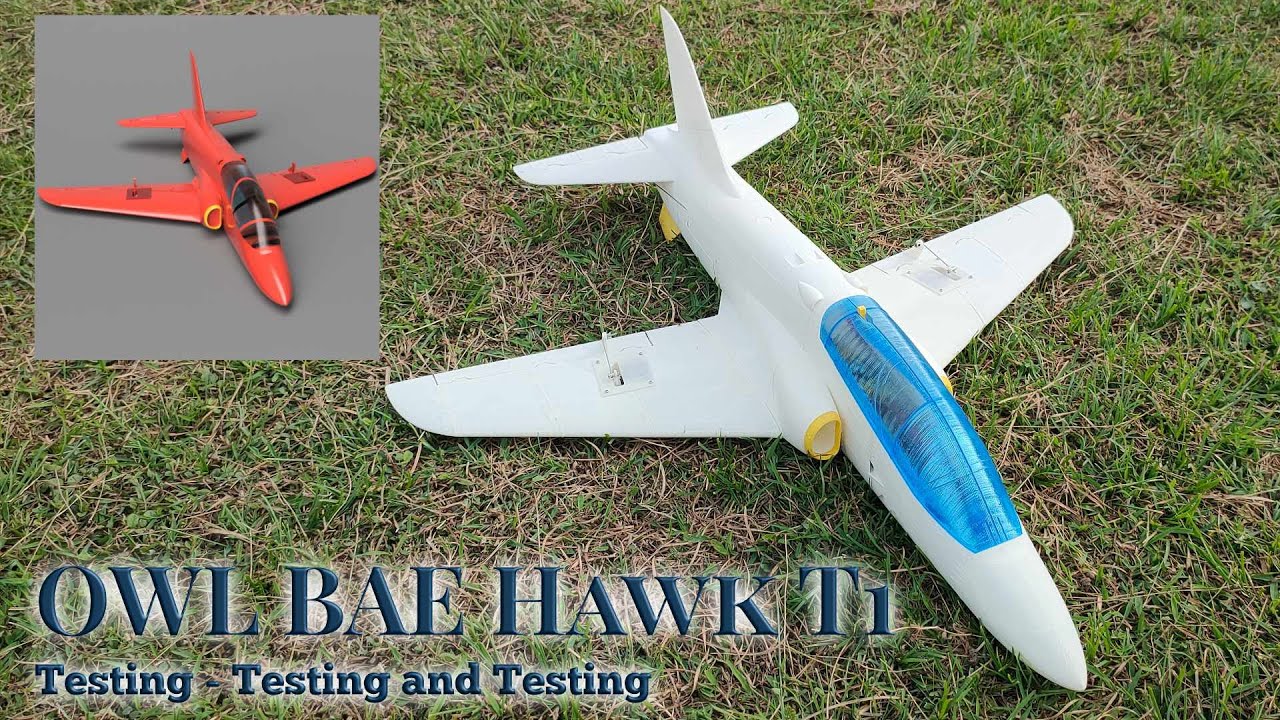
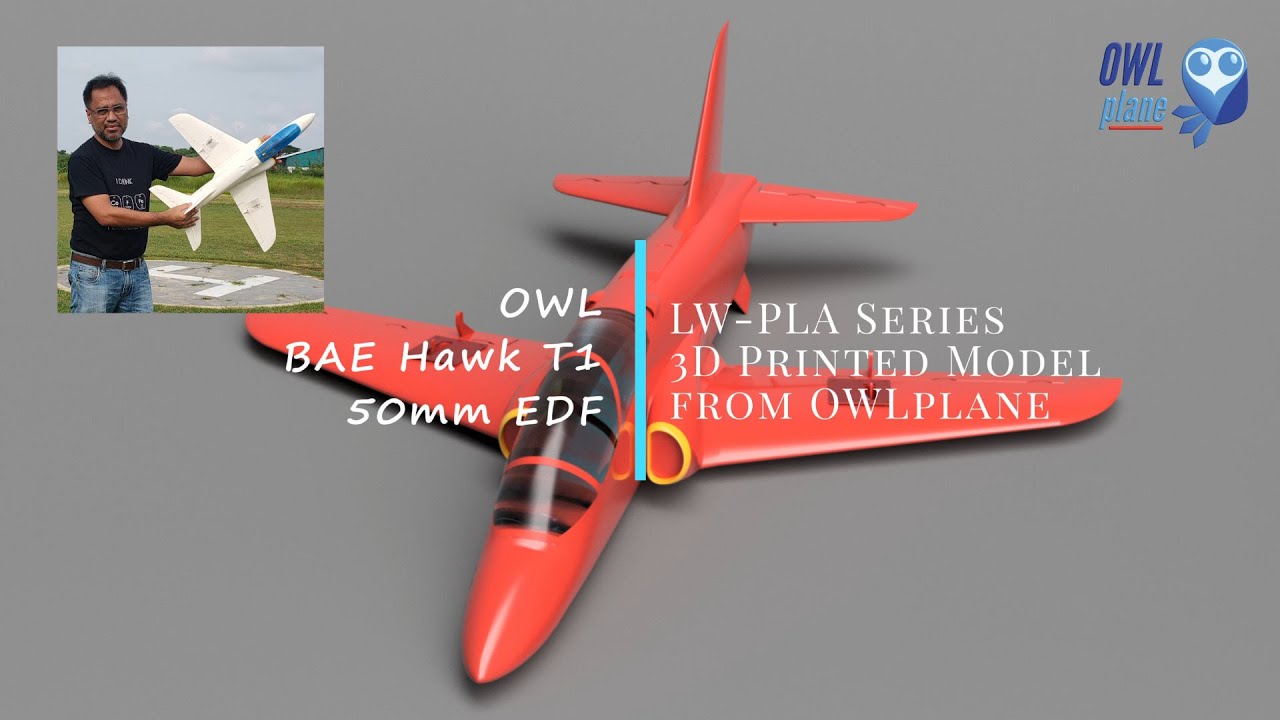
OWL BAE Hawk T1 - 50mm EDF
( Semi Scale Model )
~ LW-PLA/ePLA-LW/PolyLight 1.0 Series ~

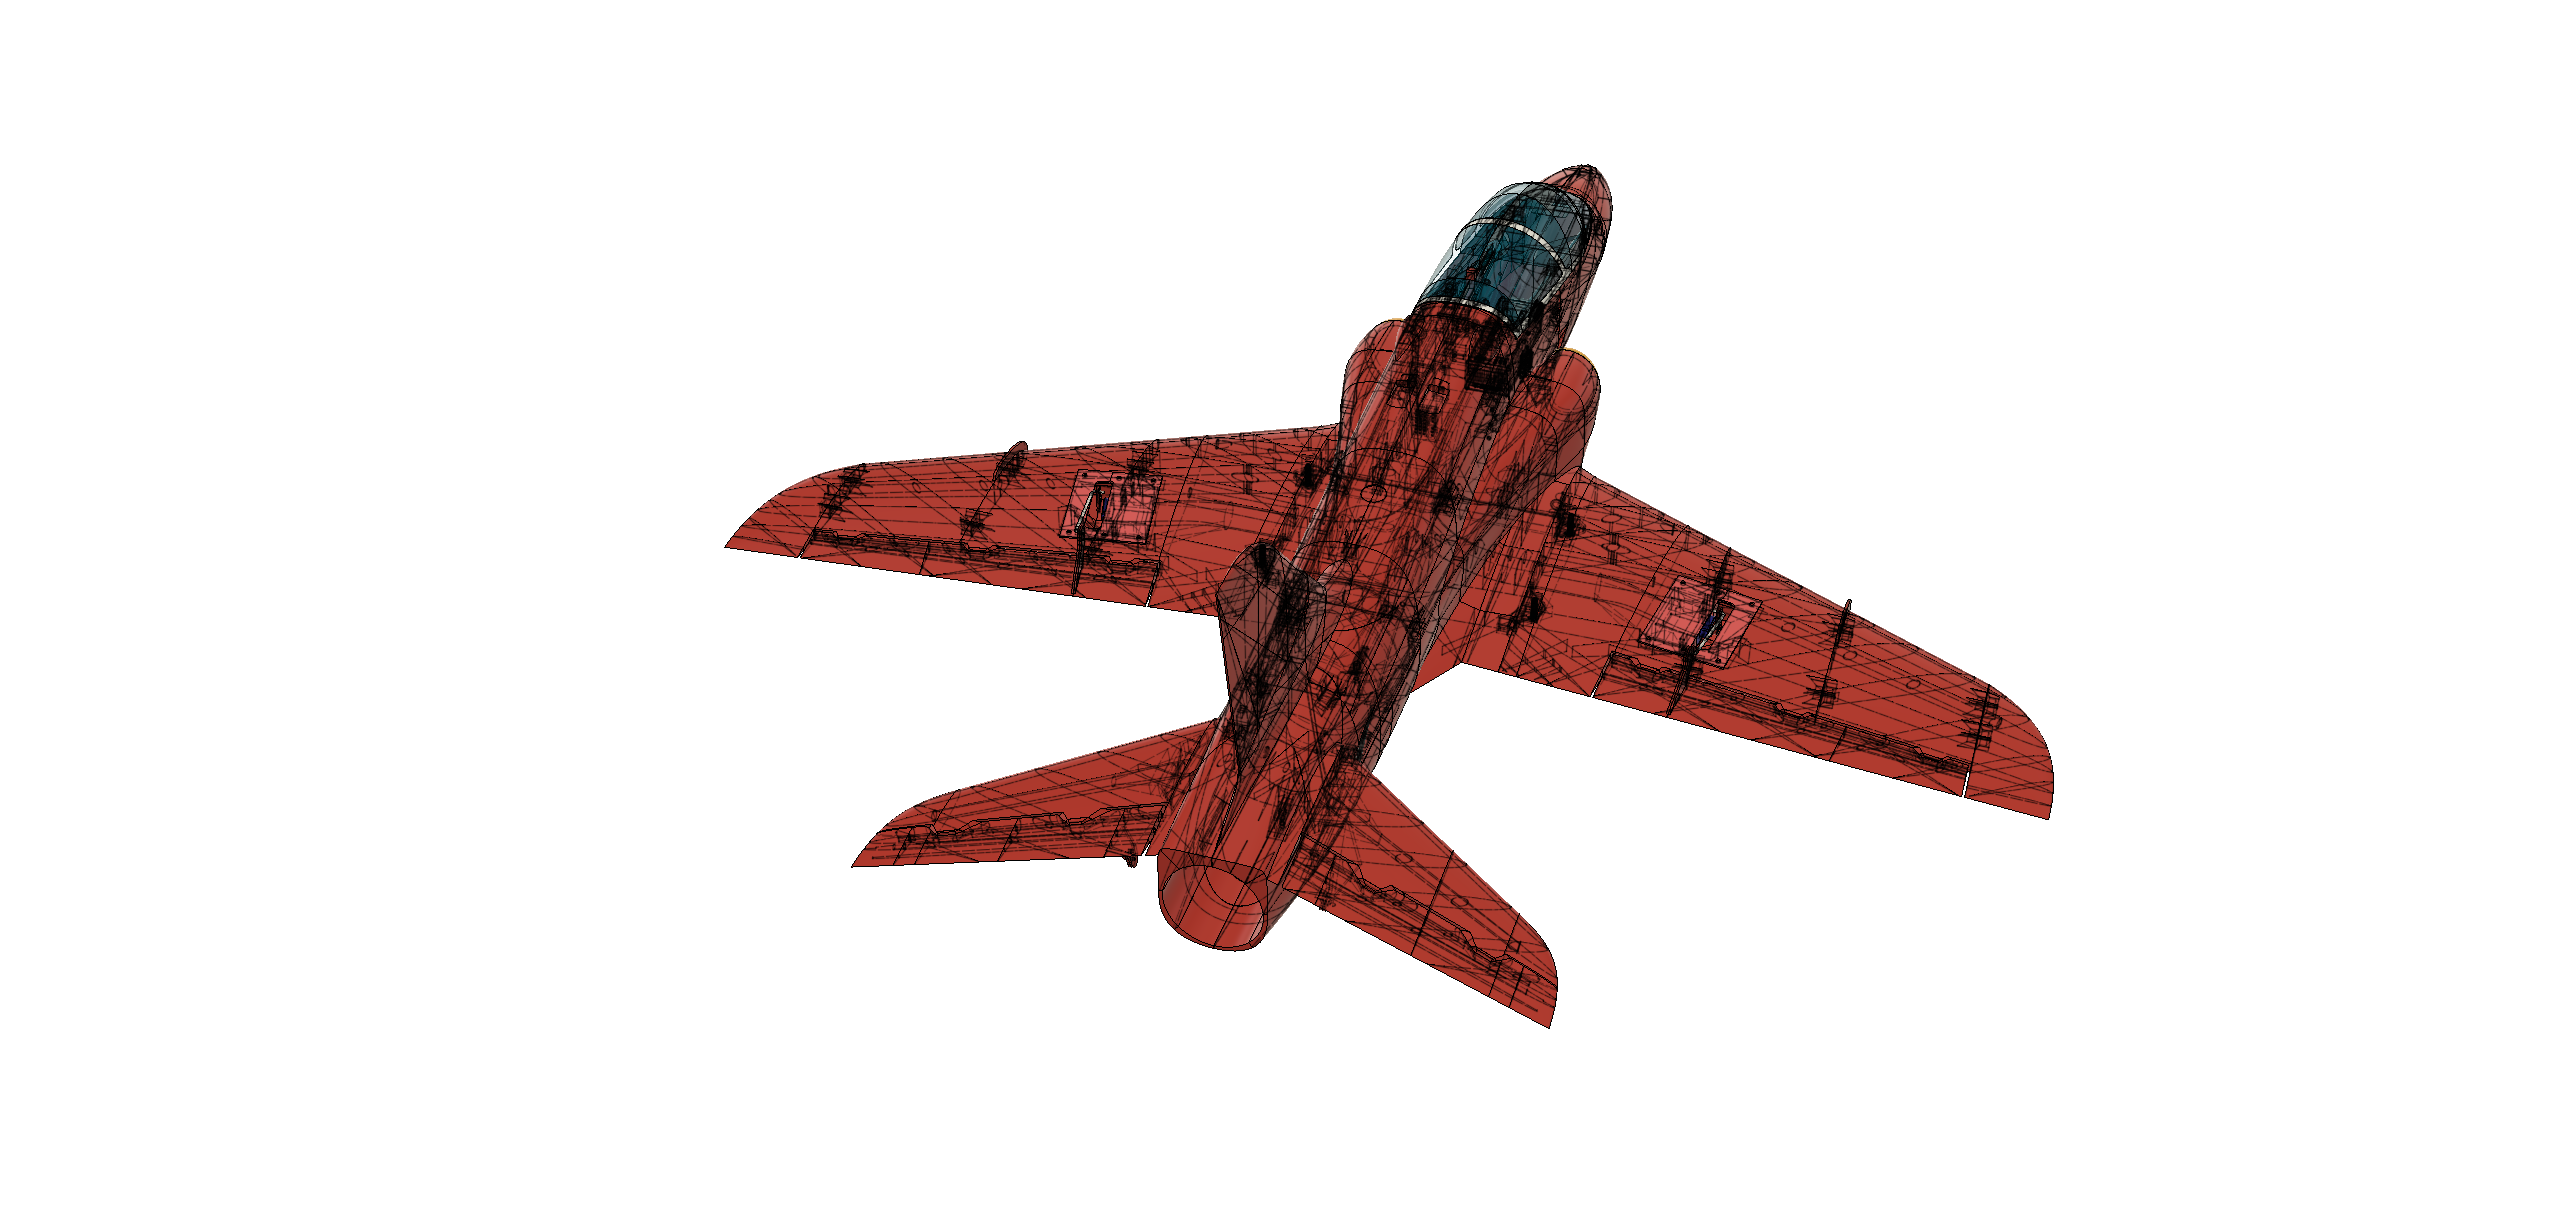


OWL BAE Hawk T1 - 50mm EDF
Videos and Pictures
If you want to skip the pre-flight hassle and spend more time in the air, the OWL BAE Hawk T1 is your perfect “grab-and-go” jet. Forget about complex field assemblies—simply prep at home, arrive at the field, swap in a battery, and you’re ready to fly.
High Performance, Low Cost
The OWL BAE Hawk T1 proves that a stunning, high-speed RC jet doesn’t have to break the bank. This 3D-printable model offers:
Effortless Launching: Designed for quick hand launches—just toss it and feel the power as it streaks across the sky at high speeds.
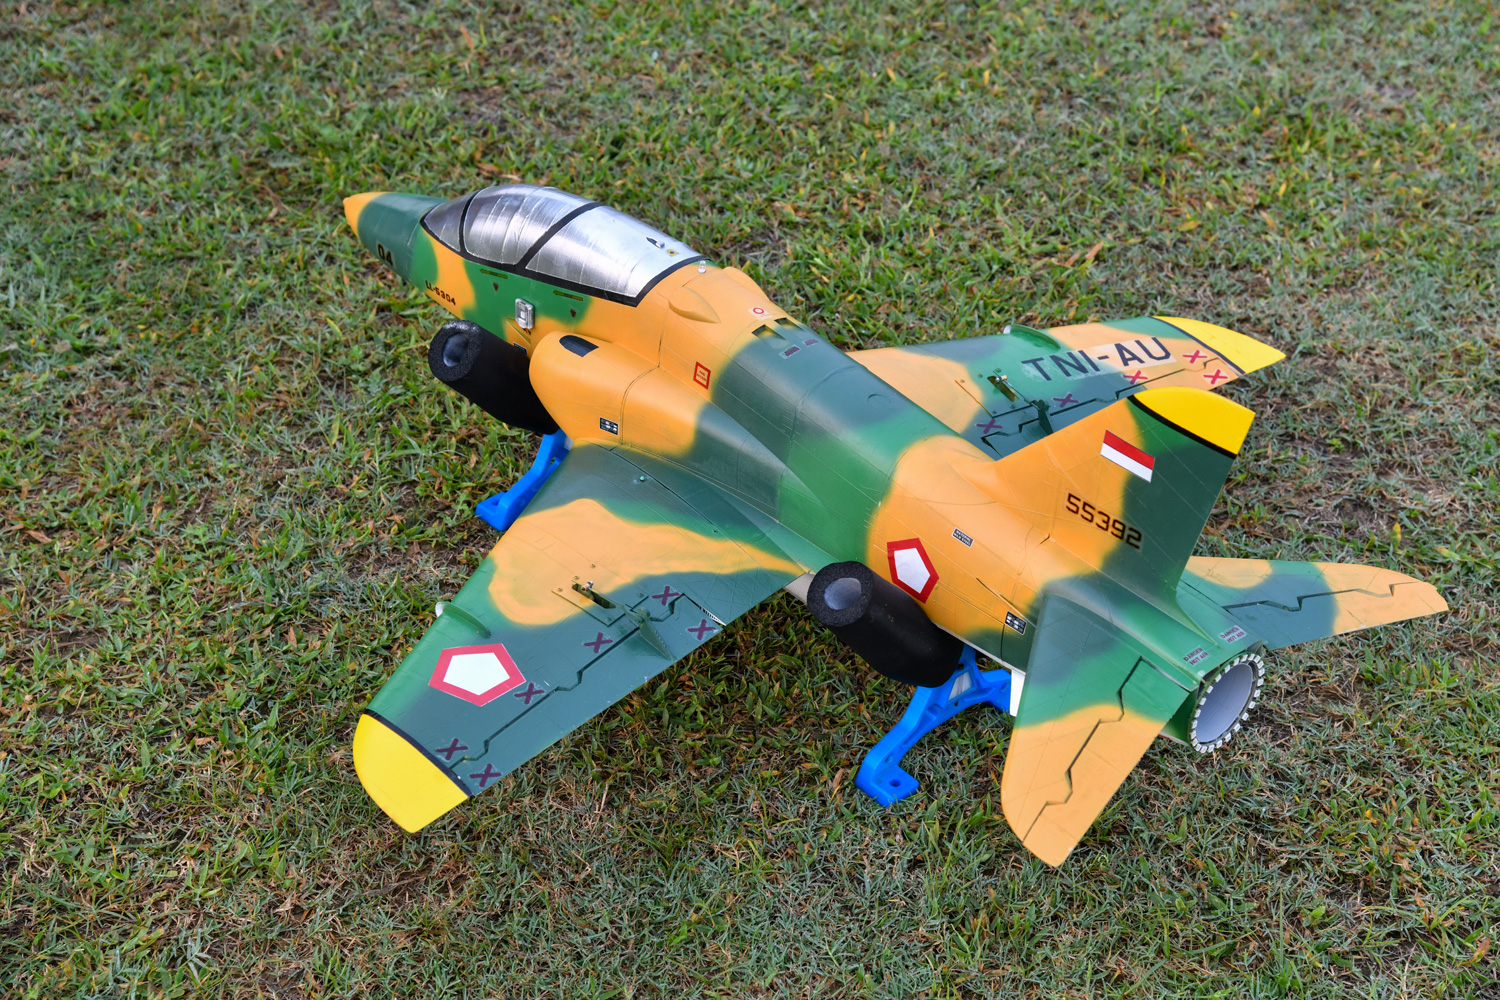
Semi-Scale Realism: Modeled after the iconic BAE Hawk T1, this jet combines aggressive, “cool” aesthetics with a beautiful silhouette in the air.
Budget-Friendly Build: By 3D printing the airframe, the total cost to get this jet airborne is significantly lower than traditional composite or foam models.
Versatile Wing Configuration
We’ve designed the Hawk for maximum durability and structural integrity based on your preference:
Solid Attachment: For the most rigid flight experience, we recommend permanently gluing the wings to the fuselage.
Pro Tip: While the design is robust, we suggest keeping CA glue in your flight kit. If a hard landing occurs, a quick field repair on the wing attachment points will have you back in the air in minutes.
This model must be printed with LW-PLA/ePLA-LW/PolyLight 1.0 filament only.
Please note that G-code files generated from ideaMaker does not compatible to use with Prusa original 3D printers. Please use Cura or S3D instead if you would like to regenerate the G-code files for your Prusa printers.
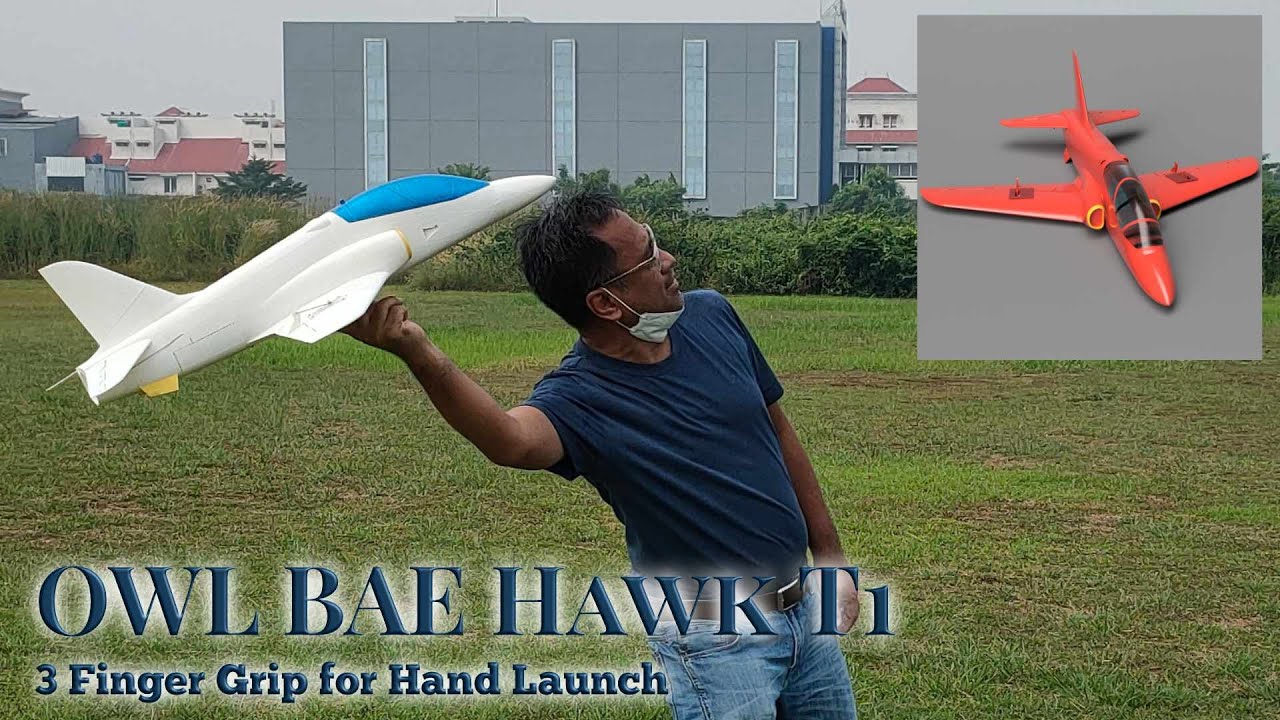
Suggestion, please see the following video to throw this model. It has more WCL value than L-39. With using bodyweight to throw, we never fail to launch the model.
We would suggest to use OWLplane Catapult Launcher for launching the model (no human errors). If you use to hand launch rc plane models, ask someone else to help launching during maiden (controlling and throwing the model are conducted by different persons) !
Fyi, it is easier to hand launch OWL L-39 model compare to OWL BAE Hawk T1 model (due to lower WCL value). But after flying in the air, it will scream :).
OWL BAE Hawk T1 - 50mm EDF Flying PlayList

2:35
1:57
1:56
0:52
3:00
2:19


Specification

- Wing Loading : 72.7gr/dm^2.
- AUW/Flying Weight : 800gr (with battery 1500mAh 4s).
- Wing Area :11dm^2.
- Wing Cube Loading (WCL) : 21.8.
- Flight Performance Category : Racer.
- Radio Channels : Throttle, Aileron and Elevator.
- Length : 810mm.
- Wing Span : 736mm.
Spar Requirement :
- 2 x 5mm OD and with 270mm long fiber carbon tube as primary and secondary fuselage and wing spars.
- 2 x 5mm OD for left and right wing spars and with 278mm long.
- 2 x 5mm OD and with 160mm long for stabilizer spars.
Locking Belt for Attaching Wings to Fuselage

Aileron/Wing Control Surfaces Rods:
Elevator/Horizontal Stabilizer Control Surfaces Rods:


Electronic Position :
Feel free to position the electronics to get the correct CoG.


EDF Installation and Canopy Trim :


Center of Gravity (CoG) :
- CoG is 73mm from Wing Root Leading Edge.


Launching with OWLplane Catapult Launcher :
Please visit OWLplane Catapult Launcher product page under “PRODUCTS” tab after clicking “ALL PRODUCTS”. You may want to download and print the 3D printed parts.

If you plan to launch the model with your own catapult launcher, you may still want to download the model hook profile adapter from OWLplane Catapult Launcher repository/product and its free.


How to Hand Launch OWL BAE Hawk T1 50mm EDF Model :
Follow the following tips to launch :
– Lean your body backward.
– Use 3 finger grip to launch.
– Start throwing by also moving your body forward.


Please Use 3-Point-Grip Protectors as Follow (Optional but Recommended to Use) :
The name for STL files are :
– GRIP-PROTECTOR-F-L # GR2.
– GRIP-PROTECTOR-F-L # GR2.
– GRIP-PROTECTOR-B # GR2.
Why need to use and what suggested filament type:
– When strongly pinching the grips, it may break the skin of the model.
– Need to print with PLA (better than LW-PLA) for having strong protector.


Just ignore rough surface, it is not sanded yet.
Sand The Surfaces To Get Smooth Ones :


Weight and Time Estimation :
Following tables show the weight of printed parts, number of required filament rolls and time required to print. But the number may vary from printer to printer due to:
– Stepper Jerk value.
– Stepper Acceleration value.
– Steps per unit (either calibrated or uncalibrated).
– Extruder quality/condition.
– Nozzle quality/condition.
– Filament quality/condition.
– Etc.

Here are the summary tables:

Klipper Firmware Does Not Accept “#” / Hash Character
Unfortunately the Klipper firmware does not accept the “#” / hash character when naming the file. More and more 3D printers nowadays and upcoming most likely will use the Klipper firmware where when using previous firmware such as Marlin, Prusa, etc. do not prevent it from processing.
Since our naming convention for our g-code files utilize the “#” character and already since we started the OWLplane, we still keep them until our new release models dated after July 2024 (after BD OWLjet 70mm 6s EDF).
No worry, to use our g-code files, just need to remove the “#” character, that is it !
Fore example :
“FUSELAGE-1 # P3_H15″ replace the file name with “FUSELAGE-1 P3_H15”
Note : no “#” character is used in the new file name.
How To Extract Our Zip Files
Somehow when the folder path is too long, files and directories can not be extracted directly to a destination directory. There is a workaround for this, just follow the guide below. What you need to follow is to double click zip file until you find the directory. From there, right click to invoke a “copy” command. After that, just copy and paste the directory into your destination directory. That is it !


Table of Contents
Update History
None
Recommended Setup


- Motor Options : 50mm EDF 4s shown above (it is possible to use 3s 50mm EDF and run with 4s only but you may need to use 50A ESC and manage the throttle not full all the time. It will be very useful during hand launch * easier to launch the model * ) .
- Servo Options : 2 x 12gr servos for aileron (left and right) and 2 x 12gr servos for elevator. 9gr servos may be enough but 12gr will have more room when need excessive force during flying.
- ESC Options : ESC may be enough with 40A but better to use 50A (cooler).
- Battery Size : LiPo 4s 1500mAh - 1800mAh (please use ESC location to get the correct CoG).
Tools and Materials
- Printer, in general 180mm x 180mm x 180mm (W x L x H) for all 64mm EDF OWLplane Models.
- Filament: LW-PLA from ColorFabb, ePLA-LW from eSUN and PolyLight 1.0 from 3DLabPrint.
- CA glue with accelerator. Use thick glue to join surface to surface. Use thin CA glue for coating the joint surface areas.
- Velcro sticker/polyester hook and loop peel-n-stick self-adhesive for locking the battery.
- Fine sandpaper.
- Sharp knife.
- Screwdriver and/or allen wrench for chosen screws/bolts.
- Pliers, needle-nose pliers, nippers.
- Steel bolt cutter.
- Dremel/rotary tool for cutting carbon fiber tubes and rod with more than 2.5mm.
- Electric drill, its drill-bit size from 1.5mm - 5mm and step cone drill.
- Propeller shaft reamer or hole puncher reamer.
Hardware Needed
For Fuselage and Canopy:
- Self tapping screw M3x25mm or M2.5x25mm with their washers (optional) for mounting left and right wings including fuselage lid - 4x.
- Ballpoint pen springs for Canopy - 1x.
For Aileron and Elevator Servos:
- 1mm - 1.2mm rod for aileron and elevator hinges (ER308L - TIG Stainless Steel Rod or Aluminum).
- 1mm - 1.2mm rod for aileron and elevator pushrod (ER308L - TIG Stainless Steel Rod).
- Landing gear wheel stop set collar 6x1.6mm for aileron and elevator - 4x.
- Linkage stopper D1.6mm for for flap, aileron, rudder and elevator - 4x.
- 1.5mm-1.6mm OD fiber carbon or aluminum rod for creating support rods. inside control surfaces parts.
Fiber Carbon Spar Requirements (please read above pictures to find the requirements).
*) Illustration only
Assembly Figures
BAE Hawk T1 50mm Fuselage Assembly


BAE Hawk T1 50mm Wing Assembly


BAE Hawk T1 50mm Horizontal Stabilizer Assembly


BAE Hawk T1 50mm Vertical Stabilizer Assembly


BAE Hawk T1 50mm EDF Canopy Assembly

