
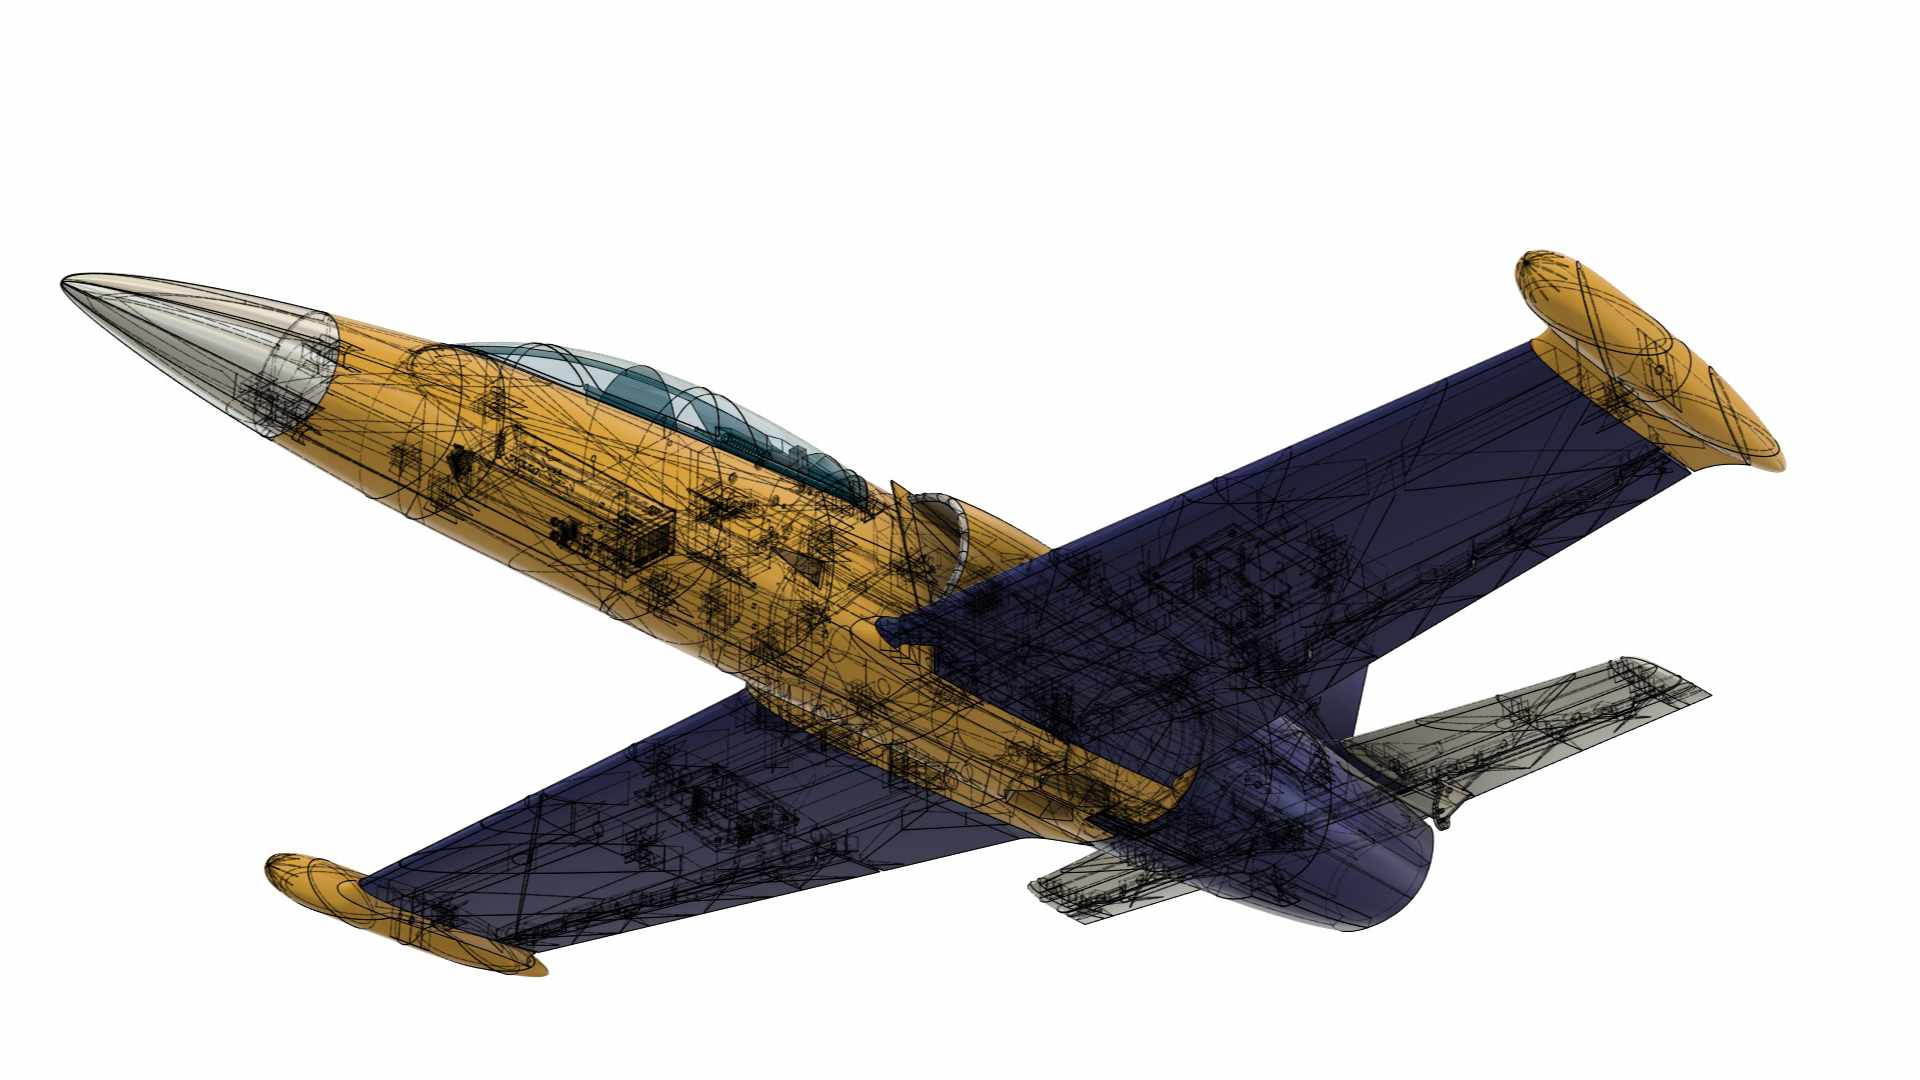
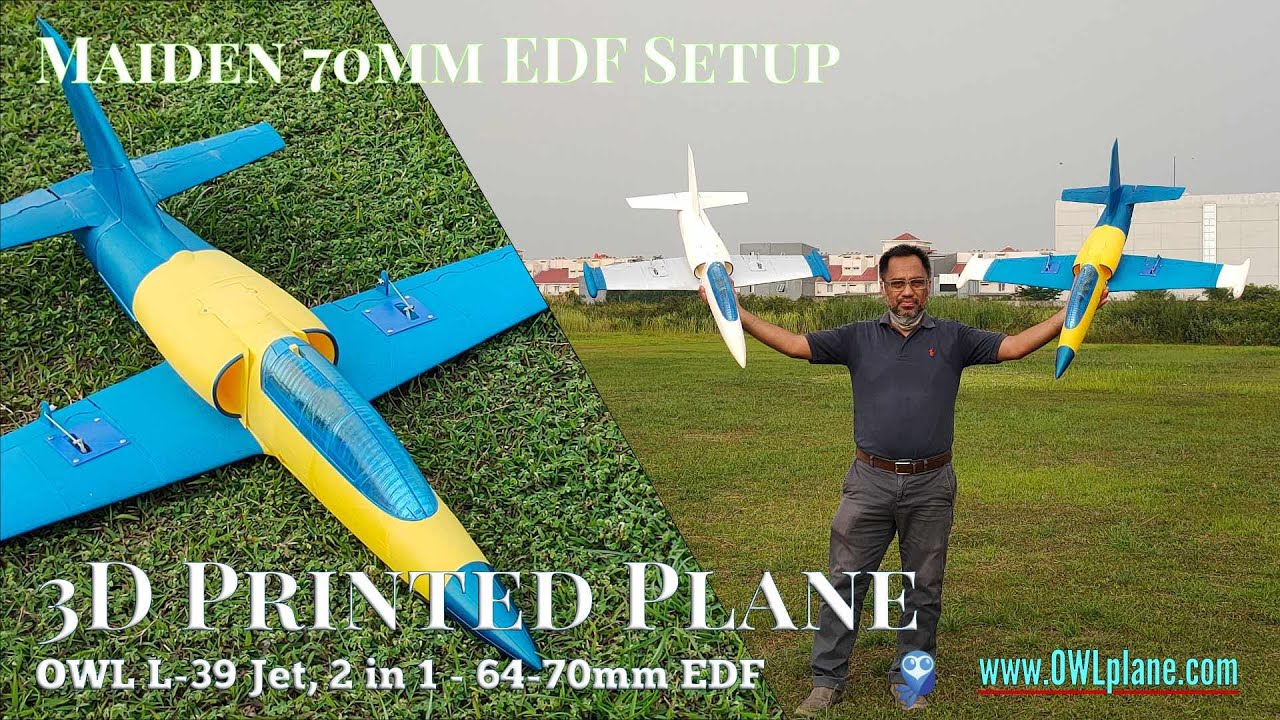
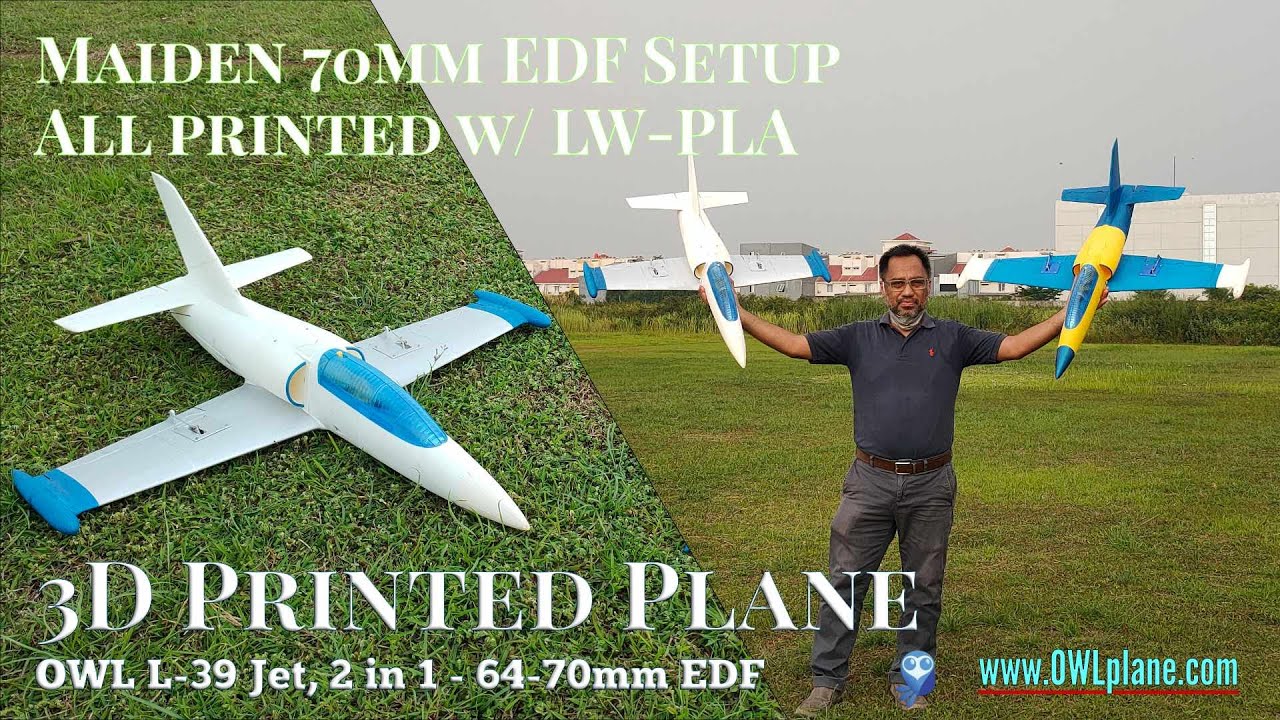
OWL L-39 64-70mm EDF (2 in 1)
(Semi Scale Model)
~ LW-PLA/ePLA-LW/PolyLight 1.0 Series ~


OWL L-39 64-70mm Videos and Pictures
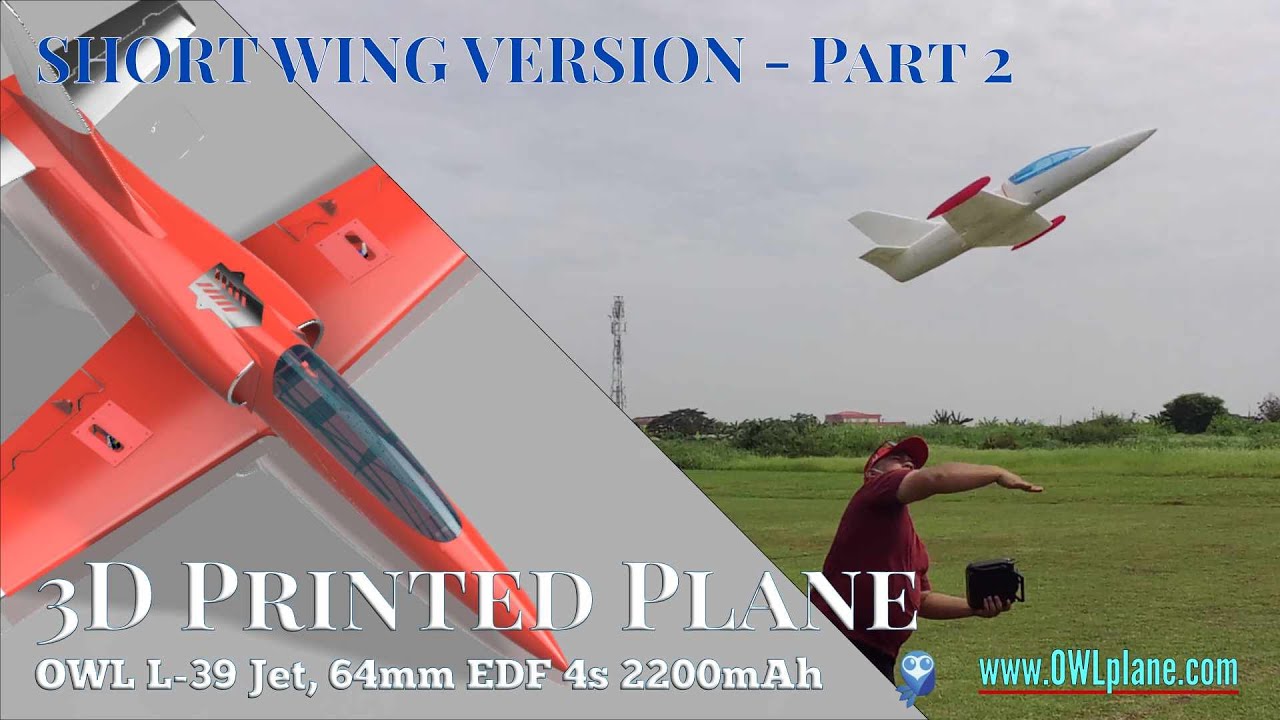
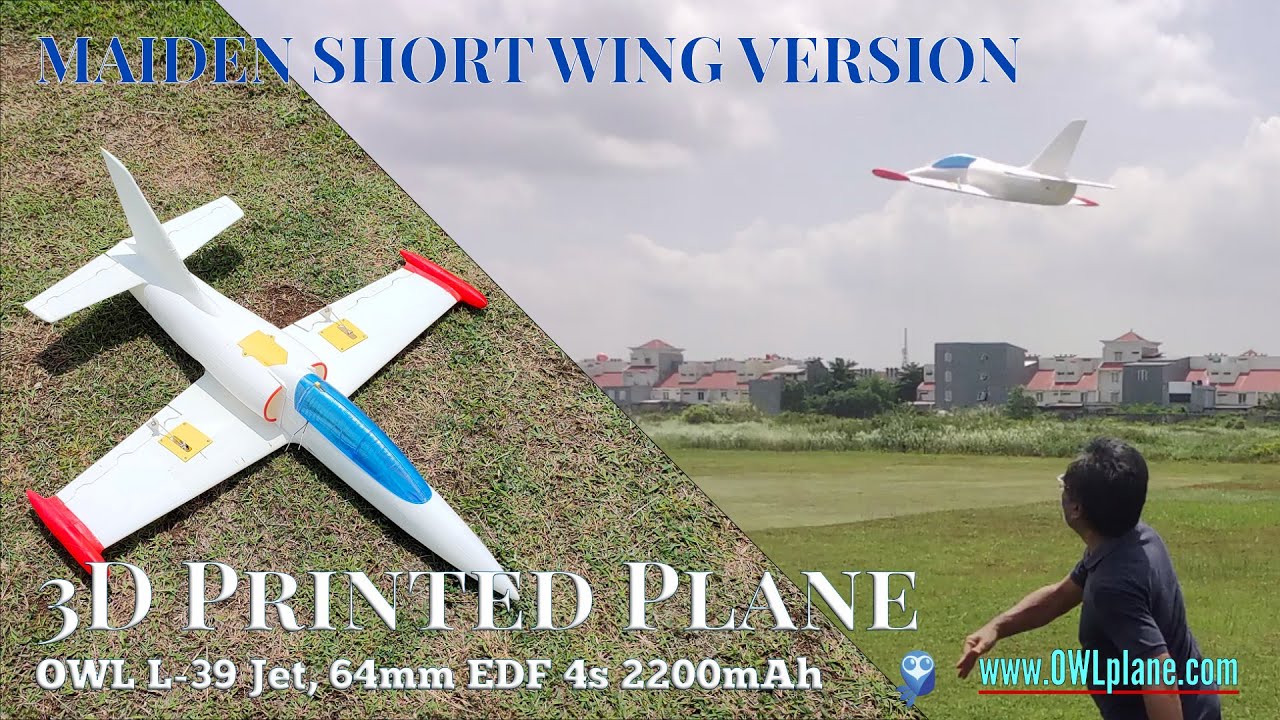
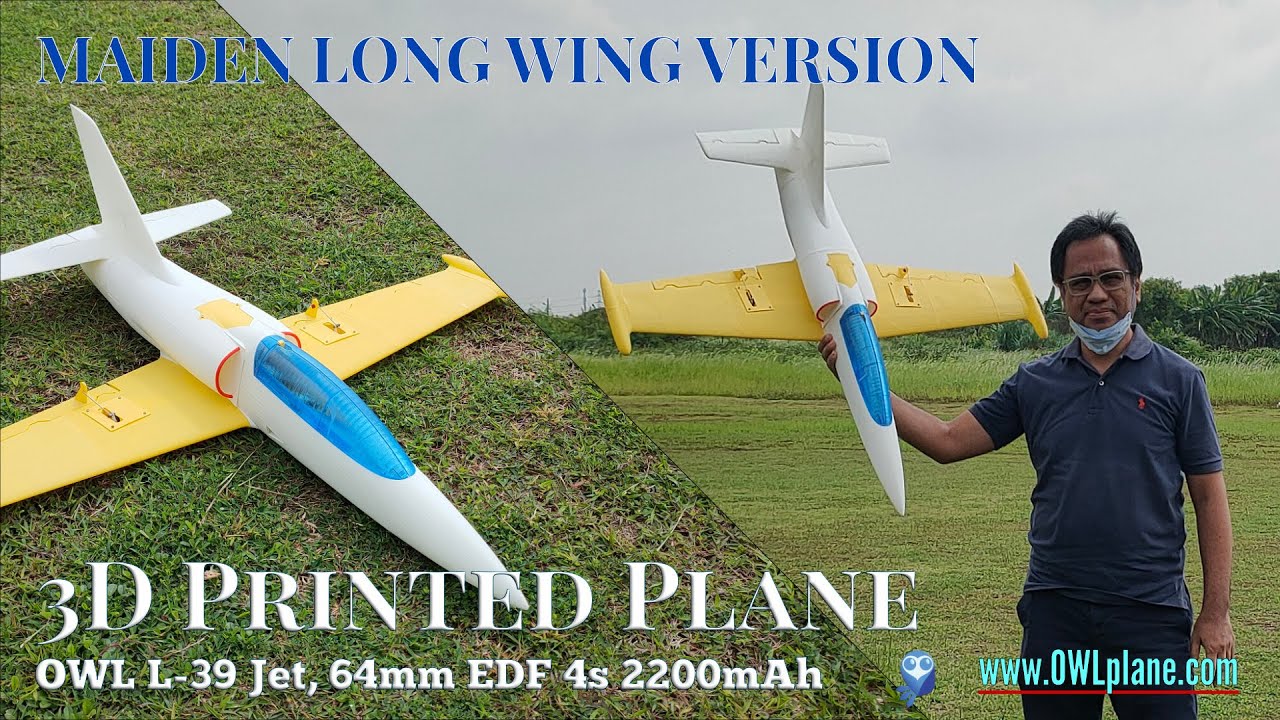
OWL L-39 64-70mm is compatible with some 64mm or 70mm size EDF brands. It gives you flexibility to chose between 64mm or 70mm EDF. If you need power and speed, certainly you need to install 70mm EDF instead of 64mm EDF. It has been tested with 2200mAh 4s battery. It may be possible to fly with 6s battery and also with 6s EDF for both 64mm or 70mm but not yet tested by OWLplane.
Three size wings are provided short, medium or long ones. You can change the wings using the same fuselage since wings are attached to the fuselage with four screws only. You may experience different characteristics by changing different size of wings. For example, when you need more speed, the shortest one is better.
It is suggested when you are not used to throw the plane, please select the long wing and all parts printed with LW-PLA.
In general, this model must be printed with LW-PLA/ePLA-LW/PolyLight 1.0 filament only (see exception below) and no landing gear (hand launch type of model).
Please note that G-code files generated from ideaMaker does not compatible to use with Prusa original 3D printers. Please use Cura or S3D instead if you would like to regenerate the G-code files for your Prusa printers.
OWL L-39 Flying PlayList
2:56
3:08
2:23
3:25
3:25

2:44


Specification
- Wing Loading : 69.4gr/dm^2.
- AUW/Flying Weight : 1250gr (with battery 2200mAh 4s and 64mm EDF).
- Wing Area : 18dm^2 (long wing/max).
- Wing Cube Loading (WCL) : 16.4
- Flight Performance Category : Racer.
- Radio Channels : Throttle, Aileron and Elevator.
- Length : 972.5mm.
- Wing Span : 857.5mm - 1,005mm.
Short Wing Version

Medium Wing Version

Long Wing Version

Spar Requirement :
- 2 x 8mm OD and with 330mm long fiber carbon tube as primary and secondary fuselage and wing spar.
- 2 x 6mm OD (left and right spar) and with 330mm, 380 or 400mm long for short, medium or long wings respectively.
- 1 x 6mm OD and with 425mm long for stabilizer spar.
Elevator Hook Requirement :


Electronic Position :
Feel free to position the electronics to get the correct CoG.

EDF Installation and Canopy Trim :


Fuselage #3 Selection for 64mm EDF or 70mm EDF :
-2 Options provided for FUSELAGE-3, either for 64mm EDF or 70mm EDF.
For 64mm EDF :
– FUSELAGE-3-64mm # P3_H15 or
– FUSELAGE-3A-64mm # P3_H15 and FUSELAGE-3B-64mm # P3_H15
For 70mm EDF :
– FUSELAGE-3-70mm # P3_H15 or
– FUSELAGE-3A-70mm # P3_H15 and FUSELAGE-3B-70mm # P3_H15

64mm or 70mm EDF Bracket and Specification :
– Only 70mm EDF bracket that has direction, just follow depicted picture below.
– Initially 3 EDF Brands were supported, they are :
- FMS 64mm and 70mm EDFs (do not use EDF that its leading edge intake fixed into the housing).
- QX-Motor 64mm and 70mm EDFs.
- Powerfun 64mm and 70mm EDFs.
Installed with no Leading Edge Intake for Both 64mm and 70mm EDF :


Installed with Fixed Leading Edge Intake only for 70mm EDF (Updated on Version 1.2) :
Please note : 64mm EDF with fixed leading edge intake is not yet supported.


Compatible with FMS 70mm Pro Version with Fixed Leading Edge Intake :


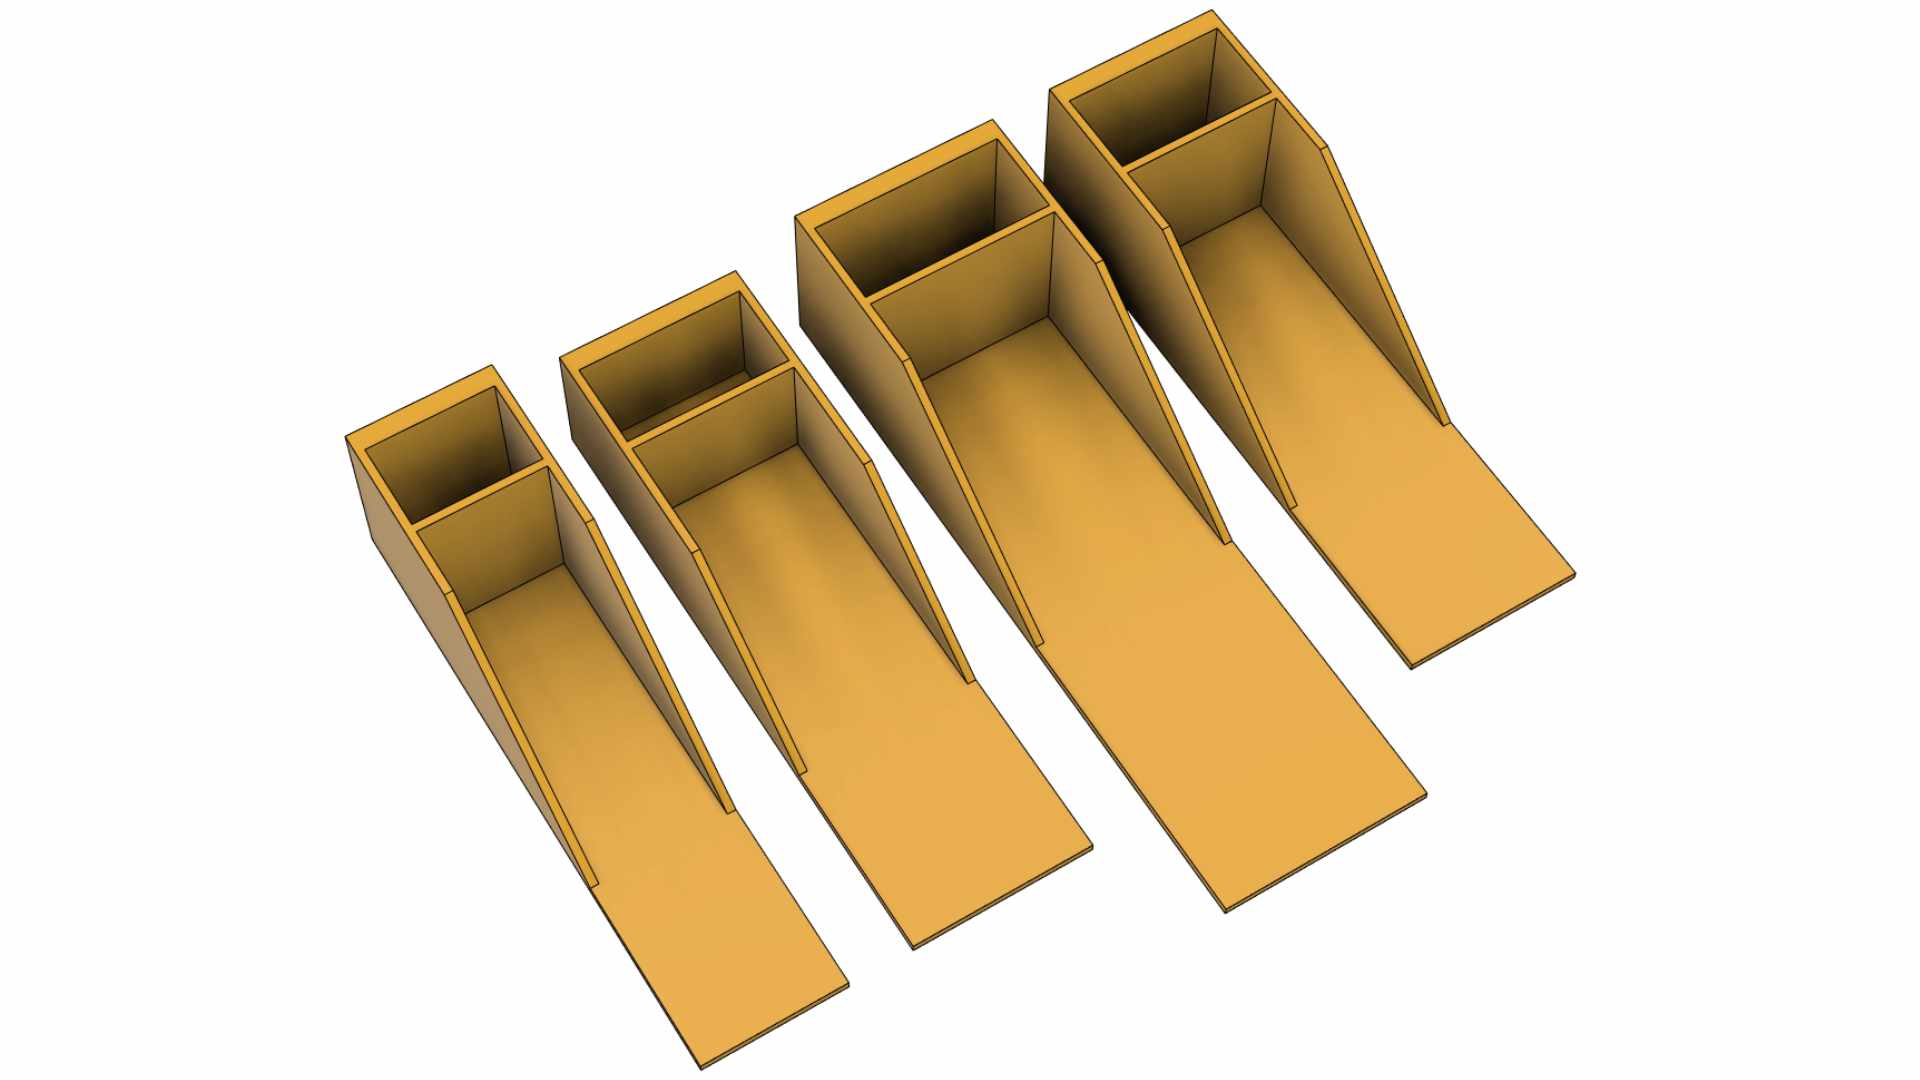
Split Parts for Smaller Build Volume :
– If you have Ender-3/5 having 250mm height build volume on z-axis than you do not need to pick split parts. For smaller build volume, please check if the z-axis height can print the parts. If not, you need to pick split parts shown by the pictures below.
– You can refer to “OWL L-39 – Z-axis Height (ReadMe before Printing)” checking the height of the parts.


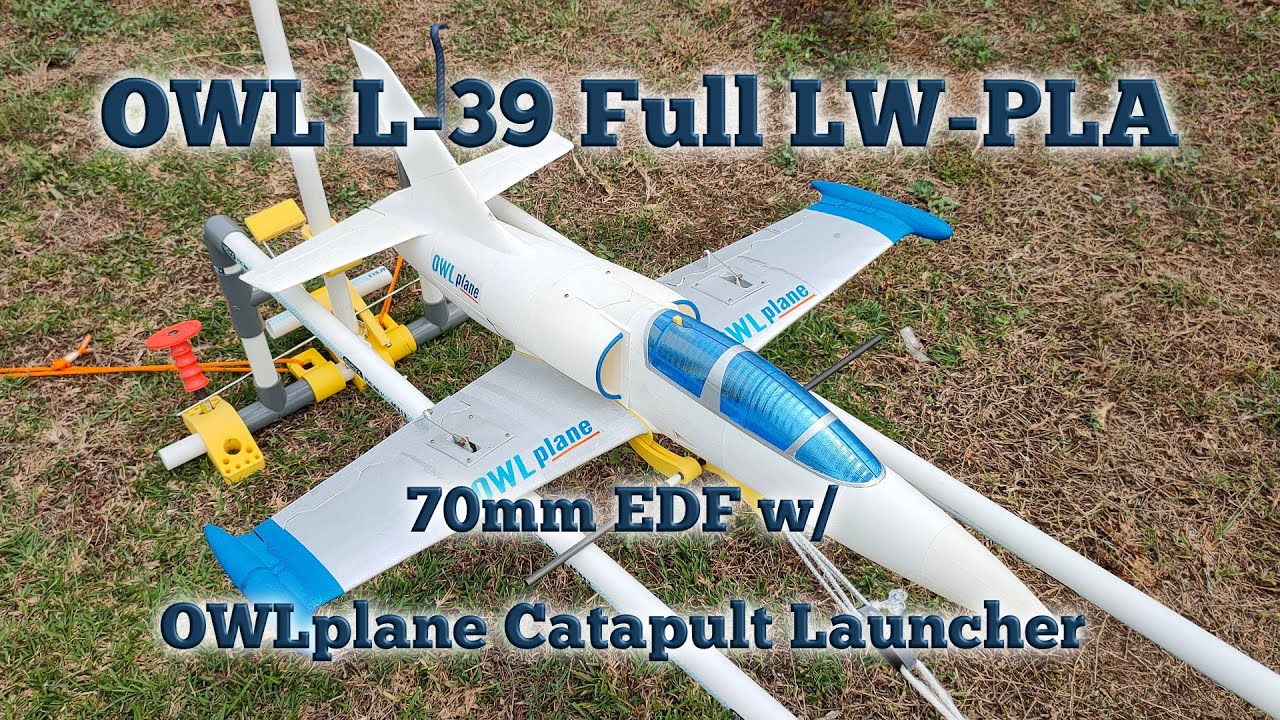
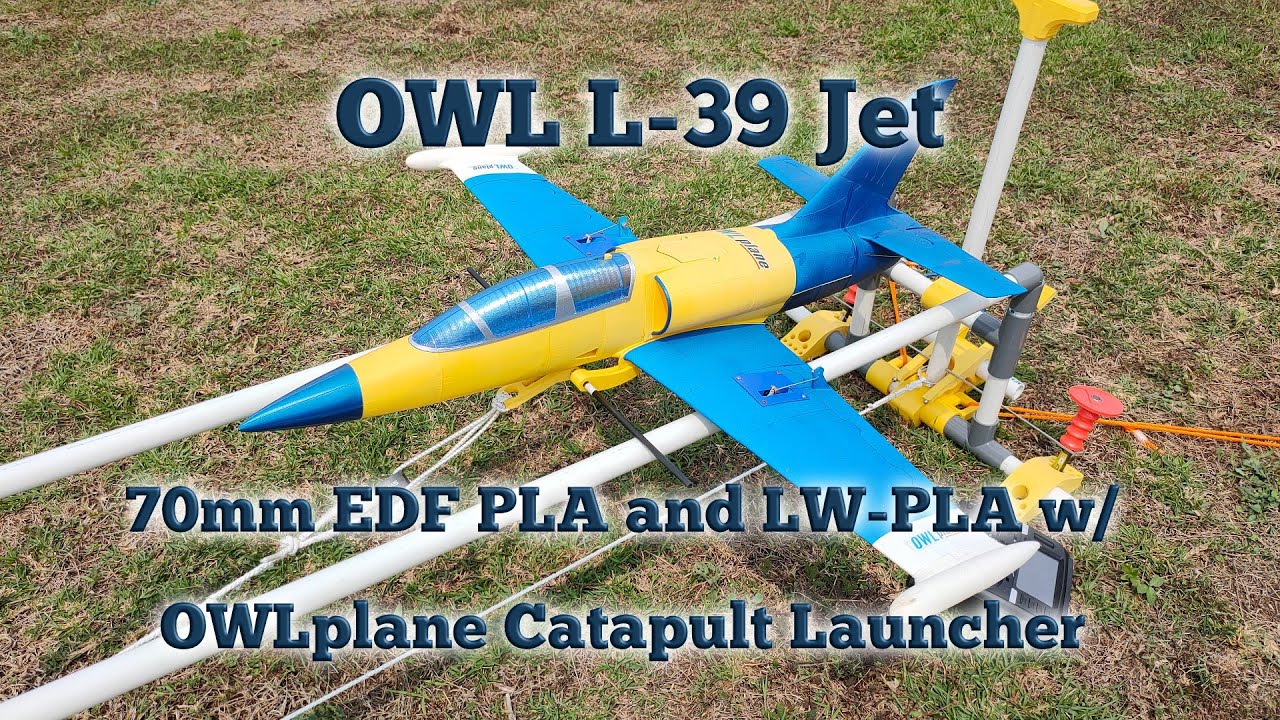
How to Launch OWL L-39 70mm EDF Model :
Two methods are suggested to launch the model. The first one is to use OWLplane Catapult Launcher. Please visit OWLplane Catapult Launcher product page under “PRODUCTS” tab after clicking “ALL PRODUCTS”. You may want to download and print the 3D printed parts. The second one is by hand launching.
It is recommended to launch the model by utilizing your own launcher or OWLplane Catapult Launcher since it is human error free.
#1 – By Utilizing OWLplane Catapult Launcher.
OWL L-39 with Catapult Launcher
4:37
6:12

If you plan to launch the model with your own catapult launcher, you may still want to download the model hook profile adapter from OWLplane Catapult Launcher repository/product and its free.


#2 – By Throwing.
Follow the following tips to launch :
– Lean your body backward.
– Start throwing by also moving your body forward.


Center of Gravity (CoG) :
- CoG is 67-68mm from Wing Root Leading Edge (see strip mark in the picture below).

Some Note for Slicing STL files :
Default Value are :
– Retraction: 1.8mm.
– Heatbed: 55C degree C.
– Hotend: 245 degree C (you may want to change it between 235 – 260 degree C).
– Extrusion Multiplier : 0.55% (feel free to update this value).
– Extrusion Width: 0.40mm (feel free to find your preference value, but it will be around that value).
– Extrusion Height: 0.25mm (greater is faster but less stronger bonding).
– Printing Speed: 40mm/sec.
– Retraction Speed : 50mm/sec.
Special Note : For some condition, you may want to disable “retraction” for having better quality.
Saving Your LW-PLA Filament:


We have tested the model with some parts printed with PLA (not LW-PLA type of filament) to save LW-PLA filament. If you would do the same, here are some suggestion (note: best if printed all with LW-PLA):
a). Only wings printed with PLA but suggested printed with 0.32mm extrusion width (expect about 125gr or more weight).
b) FUSELAGE-0 # WT (or FUSELAGE-0A # WT and FUSELAGE-0B # P3_H15), FUSELAGE-1 # P3_H15 (or FUSELAGE-1A # P3_H15 and FUSELAGE-1B # P3_H15), FUSELAGE-2 # P3_H15 (or FUSELAGE-2A # P3_H15 and FUSELAGE-2B # P3_H15), FUSELAGE-3A-xx # P3_H15 only printed with PLA. The rest parts are printed with LW-PLA type of filament. Warning: avoid to print FUSELAGE-3B-xx # P3_H15, FUSELAGE-4 # P3_H15, FUSELAGE-4 – Aux # P3_H15 and Stabilizer Parts with PLA (to maintain CoG position fit with 2200mAh battery). It is expected to add 125gr or more weight.


Weight and Time Estimation :
Following tables show the weight of printed parts, number of required filament rolls and time required to print. But the number may vary from printer to printer due to:
– Stepper Jerk value.
– Stepper Acceleration value.
– Steps per unit (either calibrated or uncalibrated).
– Extruder quality/condition.
– Nozzle quality/condition.
– Filament quality/condition.
– Etc.

Here are the summary tables:

Klipper Firmware Does Not Accept “#” / Hash Character
Unfortunately the Klipper firmware does not accept the “#” / hash character when naming the file. More and more 3D printers nowadays and upcoming most likely will use the Klipper firmware where when using previous firmware such as Marlin, Prusa, etc. do not prevent it from processing.
Since our naming convention for our g-code files utilize the “#” character and already since we started the OWLplane, we still keep them until our new release models dated after July 2024 (after BD OWLjet 70mm 6s EDF).
No worry, to use our g-code files, just need to remove the “#” character, that is it !
Fore example :
“FUSELAGE-1 # P3_H15″ replace the file name with “FUSELAGE-1 P3_H15”
Note : no “#” character is used in the new file name.
How To Extract Our Zip Files
Somehow when the folder path is too long, files and directories can not be extracted directly to a destination directory. There is a workaround for this, just follow the guide below. What you need to follow is to double click zip file until you find the directory. From there, right click to invoke a “copy” command. After that, just copy and paste the directory into your destination directory. That is it !


Table of Contents
Update History
Adding Internal Ribs for “WINGS-L and R-1 # P3_H15” Parts – release as version 1.1.
Updated Date: February 18th, 2022.
With additional ribs on “WINGS-L and R-1 # P3_H15”, they will better maintain their shape.
Updated STL files are:
– “WINGS-L-1 # P3_H15” upgrade to “WINGS-L-1 # P3_H15 v1.1”
– “WINGS-L-1A # P3_H15” upgrade to “WINGS-L-1A # P3_H15 v1.1”
– “WINGS-L-1B # P3_H15” upgrade to “WINGS-L-1B # P3_H15 v1.1”
– “WINGS-R-1 # P3_H15” upgrade to “WINGS-R-1 # P3_H15 v1.1”
– “WINGS-R-1A # P3_H15” upgrade to “WINGS-R-1A # P3_H15 v1.1”
– “WINGS-R-1B # P3_H15” upgrade to “WINGS-R-1B # P3_H15 v1.1”

Can Accept 70mm EDF with Fixed Leading Edge Intake – released as version 1.2.
Updated Date: April 3rd, 2022.
OWL L-39 64-70mm now can accept 70mm EDF with fixed leading edge intake.
Modified STLs are as follow, under “OWL-L39 70mm Update for Fixed Leading Edge Intake v1.2” directory:
– FUSELAGE-2 # P3_H15 to FUSELAGE-2 # P3_H15 v1.2
– FUSELAGE-2A # P3_H15 to FUSELAGE-2A # P3_H15 v1.2
– FUSELAGE-2B # P3_H15 to FUSELAGE-2A # P3_H15 v1.2
– FUSELAGE-3 # P3_H15 to FUSELAGE-3 # P3_H15 v1.2
– FUSELAGE-3A # P3_H15 to FUSELAGE-3A # P3_H15 v1.2
– FUSELAGE-3B # P3_H15 to FUSELAGE-3A # P3_H15 v1.2
– FUSELAGE-4 # P3_H15 to FUSELAGE-4 # P3_H15 v1.2
– FUSELAGE-LID-70mm-1 # P3_H15 to FUSELAGE-LID-70mm-1 # P3_H15 v1.2
// Please use “FUSELAGE-LID-70mm-2 # P3_H15” to assembly with “FUSELAGE-LID-70mm-1 # P3_H15 v1.2”.
Added STL and G-code are as follow for EDF blocker, under “OWL L-39 64-70mm – SUPPORT v1.2 > EDF-BLOCKER-70mm for FIXED LE INTAKE > STL”:
– EDF-70 Blocker for Fixed LE Intake # GR2 (note: G-code files are provided under “PLA Bowden” and “PLA DD” directories).

Creating Two Tabs for “CANOPY-2 # P3_H15” – released as version 1.3.
Updated Date: October 8th, 2022.
Recommended Setup


- Motor Options : 64mm EDF or 70mm EDF 4s shown above but not limited to (it can accept 70mm EDF with fixed leading edge intake but 64mm EDF with fixed leading edge intake is not yet supported).
- Servo Options : 2 x 12gr servos for aileron (left and right) and 1 x 17gr servo for elevator.
- ESC Options : ESC may be enough with 80A, please consult to your EDF manual.
- Battery Size : LiPo 4s 2200mAh.
Click Download Button below or Image Picture to Download the EDF Bracket to Test Your EDF Unit

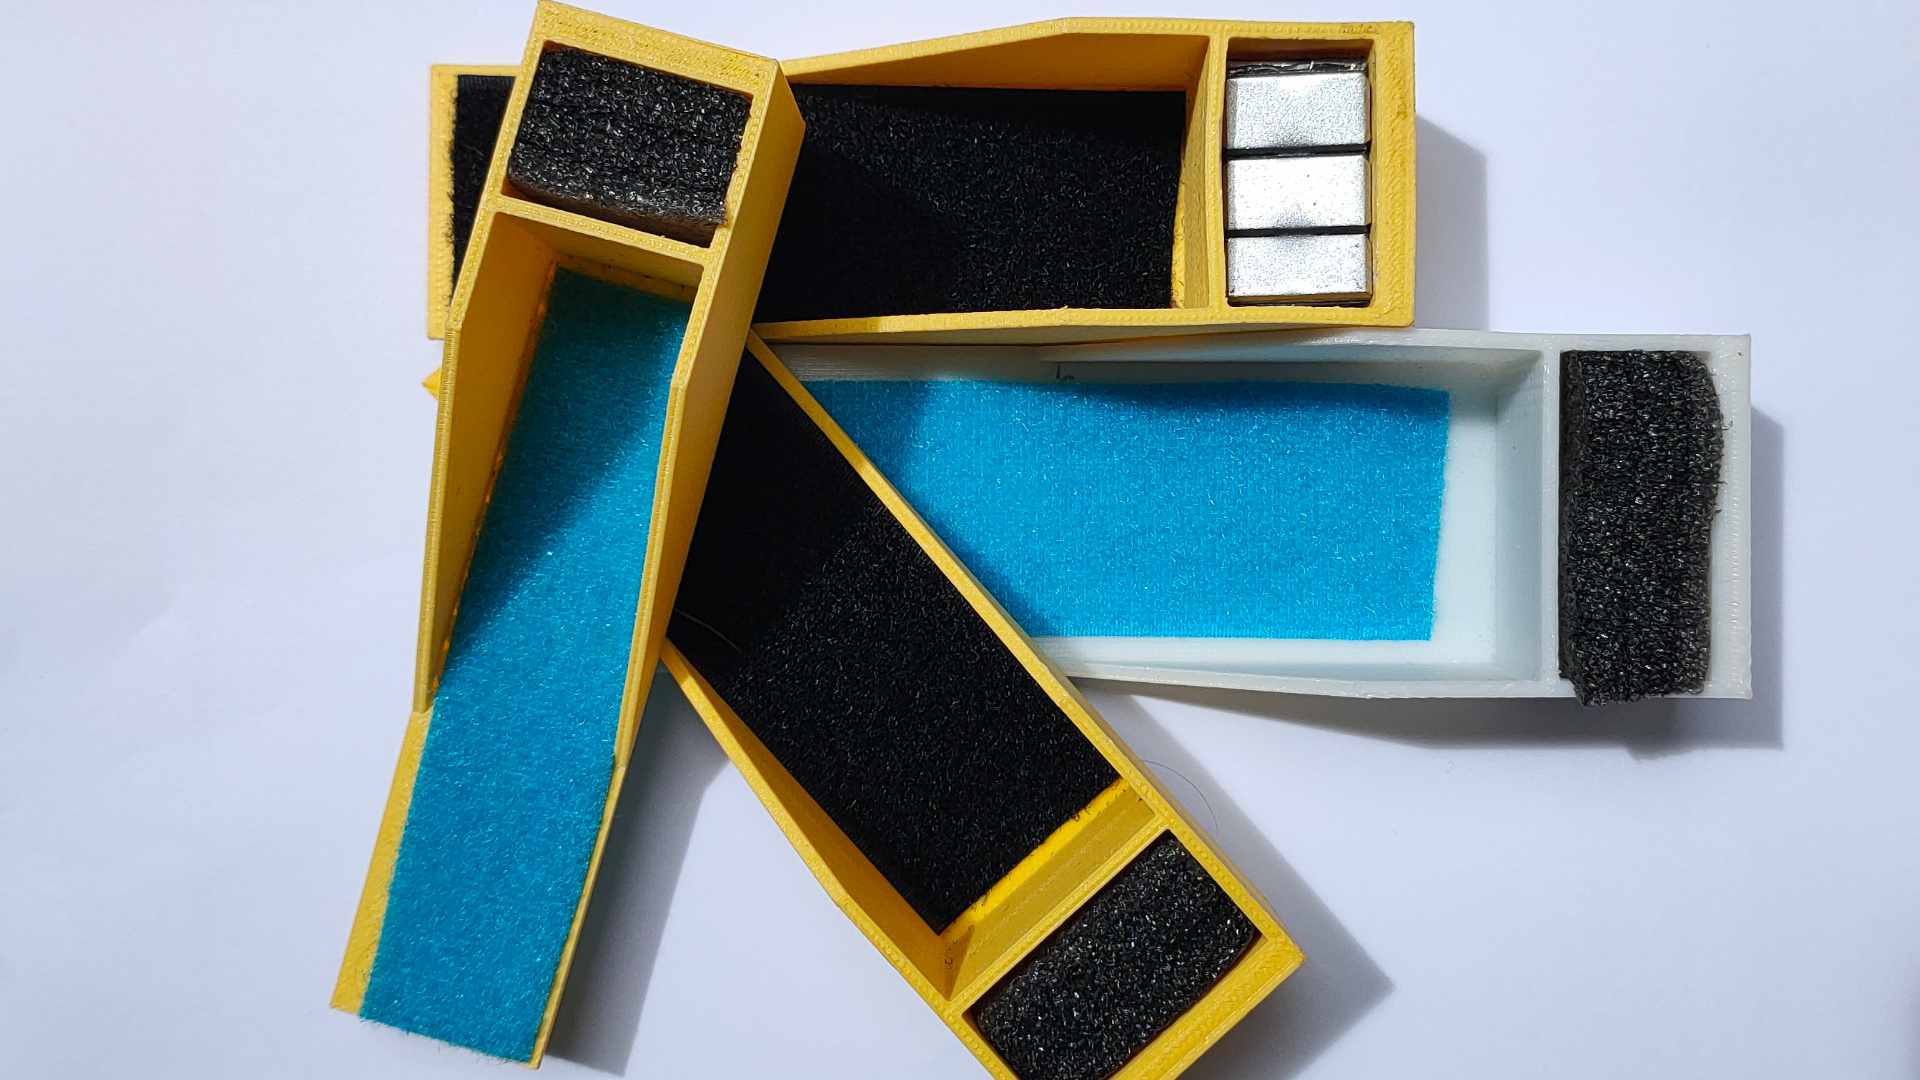
Battery Protector and/or Weight Balancer Holder for 2200mAh 3s/4s and 3300mAh 4s Battery :
One of challenges in 3D printed plane is where it has a wide range of possible total weight result. For example, the plane printed with 0.40mm comparing to 0.32mm extrusion width may end up the CoG moved about 2cm – 3cm backward with using the same battery. You may need to move the battery forward or add more weight at the nose to get back the CoG to its previous location. To solve this issue at the same time protecting your battery, the following STL files are created for your 2200mAh 3s/4s and 3300mAh 4s. Feel free to download and use the files (G-code files are also provided for Bowden or Direct Drive setup including STEP files).


Tools and Materials
- Printer, in general 210mm x 210mm x 210mm (W x L x H) for all OWLplane Models.
- Filament: LW-PLA from ColorFabb, ePLA-LW from eSUN and PolyLight 1.0 from 3DLabPrint.
- CA glue with accelerator. Use thick glue to join surface to surface. Use thin CA glue for coating the joint surface areas.
- Velcro sticker/polyester hook and loop peel-n-stick self-adhesive for locking the battery.
- Fine sandpaper.
- Sharp knife.
- Screwdriver and/or allen wrench for chosen screws/bolts.
- Pliers, needle-nose pliers, nippers.
- Steel bolt cutter.
- Dremel/rotary tool for cutting carbon fiber tubes and rod with more than 2.5mm.
- Electric drill, its drill-bit size from 1.5mm - 5mm and step cone drill.
- Propeller shaft reamer or hole puncher reamer.
Hardware Needed
For Fuselage and Canopy:
- Self tapping screw M3x25mm or M2.5x25mm with their washers (optional) for mounting left and right wings including fuselage lid - 6x (4x wings and 2x fuselage lid).
- Ballpoint pen springs for Canopy - 1x.
For Aileron and Elevator Servos:
- 2.5mm rod for aileron and elevator hinges (ER308L - TIG Stainless Steel Rod but preferred TIG Aluminum Rod instead).
- 1.5 - 2mm rod for aileron and elevator pushrod (ER308L - TIG Stainless Steel Rod).
- 2.5 - 3mm rod for horizontal stabilizer hook (ER308L - TIG Stainless Steel Rod).
- Landing gear wheel stop set collar 6x2.1mm for aileron and elevator - 3x.
- Linkage stopper D2.1mm for for flap, aileron, rudder and elevator - 3x.
- 2.5mm OD shaft for creating pins connecting two parts for aileron and stabilizer.
*) Illustration only
Assembly Figures
See picture below for split parts to fit 200mmx200mmx200mm build volume printer. If you have Ender-3/5, no need to split parts just print the full size parts.
L-39 Fuselage Assembly

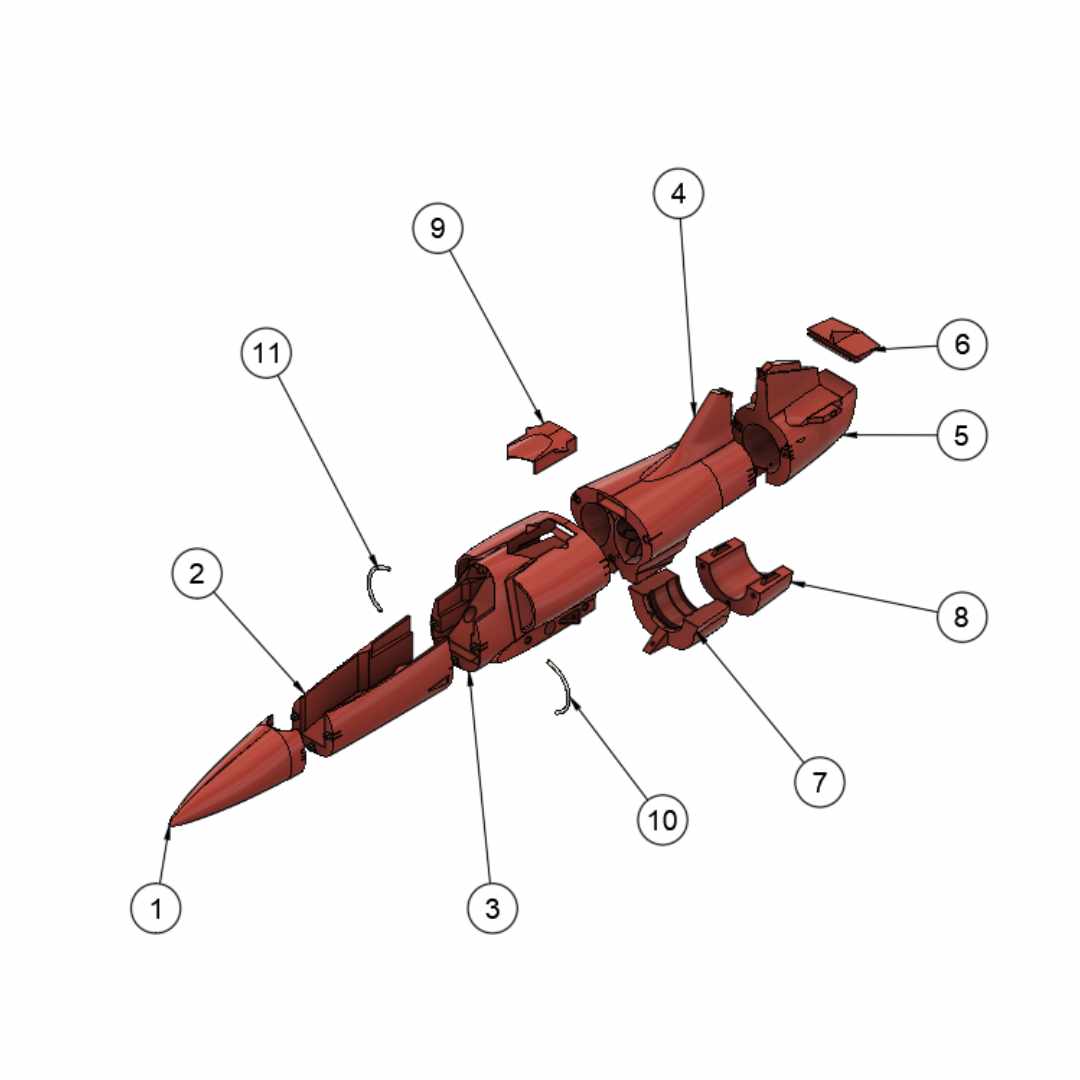
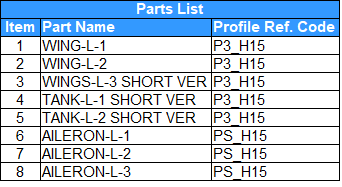
L-39 Wing Assembly

L-39 Horizontal Stabilizer Assembly


L-39 Vertical Stabilizer Assembly


L-39 Canopy Assembly

